To help you develop and maintain your production websites, you can create site collections, which bundle and organize related websites. If you haven't already, please read Understanding Site Collections to start.
Create a new site collection
- NOTE: You need to have at least one existing site before you begin this process.
- Log into Acquia Cloud Site Factory's dashboard using the account information provided to you once you've received confirmation from the SiteFarm team it has been created.
- You can create site collections only inside of site groups, so from your login dashboard, look at the links across the top and click on Sites, then from beneath the All My Sites title, locate your group folder and click on the group to enter it.
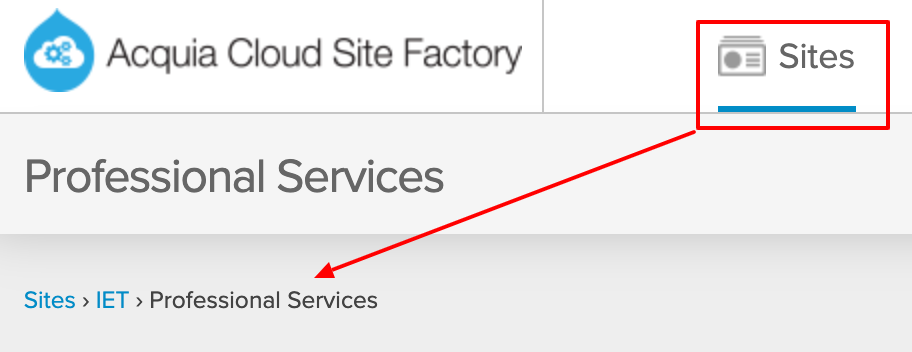
If you see your breadcrumb trail, you have successfully navigated into your site's group folder. - Look for the Create a new site button located in the upper right corner of the screen. Click the arrow to the right of the button to open its menu.
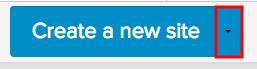
- Click New site collection.

- In the Site collection name field, enter a descriptive name for the site collection to display in the dashboard. Example: SiteFarm Collection. In the Internal URL field, enter the Acquia Cloud Site Factory site collection name to use with its URL (Example: sitefarmprod). The Acquia Cloud Site Factory base URL is added to this name. This name should be different than any name you have used for your individual sites.
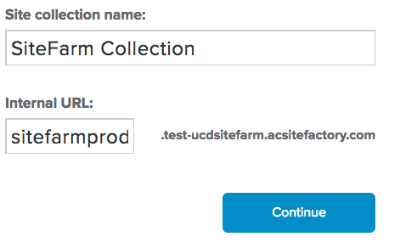
- Click Continue.
- In the Site name field, enter the site name for one of your already existing Site Factory websites. Acquia Cloud Site Factory provides an autocomplete feature to help you match your entry to applicable site names as you type. As you add websites to the site collection, the page displays additional site name fields to allow you to add multiple websites. NOTE: The first site you add will, by default, become your primary site.
- If you want to add additional websites to the site collection as secondary websites, enter them in the additional site name fields.
- Click Finish.
- Please note: if the site you're using to form your Site Collection is already live, you can proceed with this process and your site will not experience any outage; however, you MUST contact the campus host clerk and request an updated CNAME assignment of your domain to the Site Collection's internal URL you created above.
Resulting Dashboard
Once your collection is created, you will now interact with your sites in the specific collection's dashboard. Here is a screenshot that shows part of that screen:
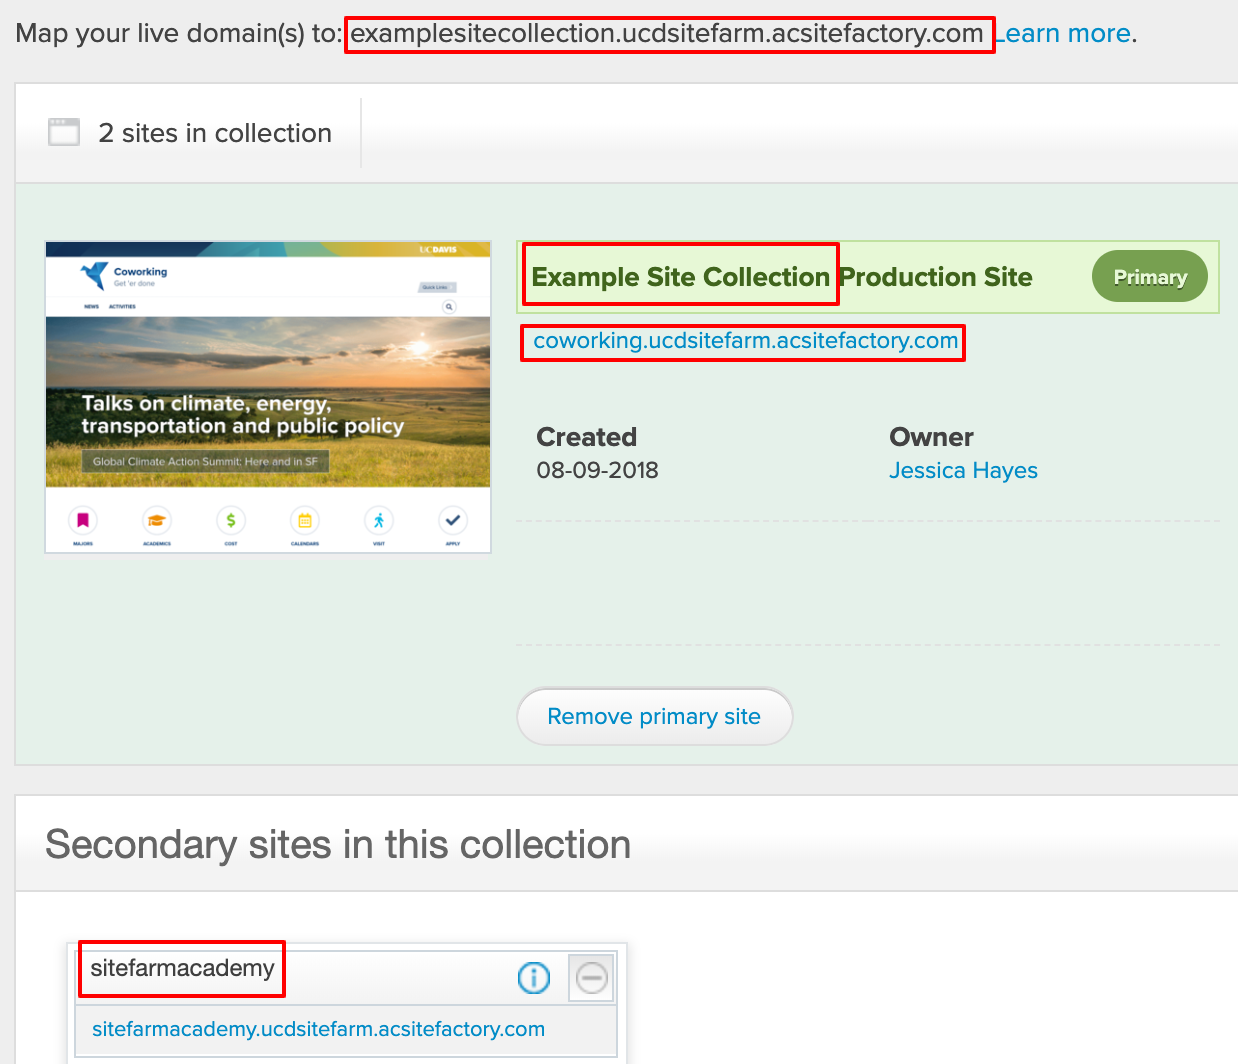
- Site Collection Name: Example Site Collection
- Internal URL: examplesitecollection.ucdsitefarm.acsitefactory.com
- Primary site: coworking.ucdsitefarm.acsitefactory.com
- Secondary site: sitefarmacademy
Swapping out sites to make a development site the main site
Site collections are used for development purposes, which can include sub-theming or major content updates. At a certain point you'll be ready to make the switch and change the updated version of your site (the secondary or development site) for the primary site (main site, whether live or not).
If your site has already been launched and live on the web, you will not need to work with the SiteFarm team and the campus host clerk again; your domain name, which has been assigned via the Internal URL (see above), is attached to the Collection itself, separate from any of the individual sites inside of it.
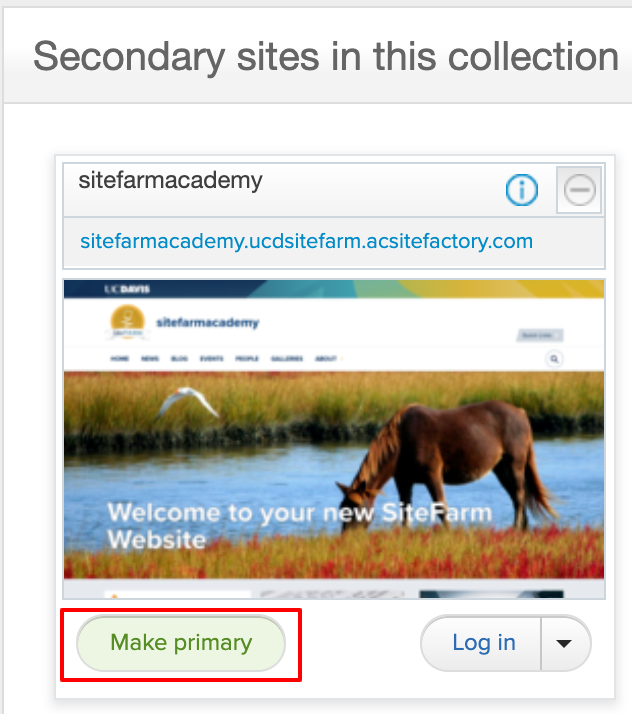
Make a secondary site your primary site
- Locate the secondary site inside your collection you want to designate as your new primary.
- On its site card, click the Make primary button.
- When the change is complete, which may take a minute or so, you will see that the Internal URL is the same, but the site card listed for your Primary site has updated and also now lists the primary site's URL under the Site Collection Name. Your original primary is now listed below as a secondary site. You can choose to delete the secondary or leave it for further use in the future.