Containers in forms serve an important function by organizing content into logical, easy-to-read segments that provide better context to visitors completing your forms.
How to create and add elements to containers
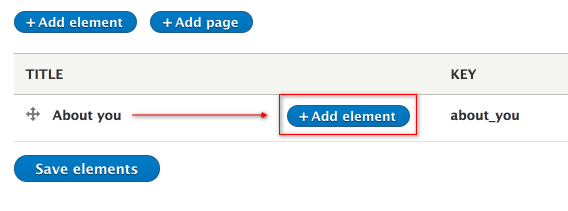
- Once your Webform instance is created, click the + Add element button to begin.
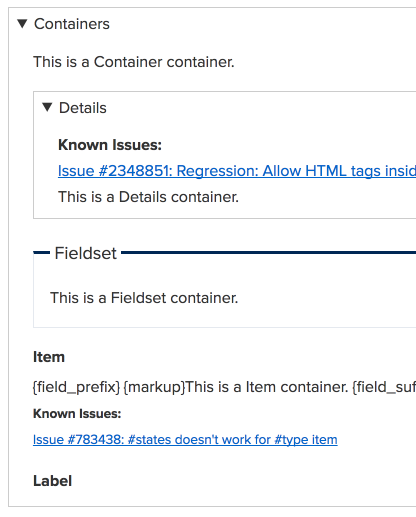
- Select one of the Container types from the Category column. The full list of element examples can be seen on this sample form page.
- Once selected, you can return to your form's element list to see your new container, which will also now include its own + Add element button. This is to add form elements that belong specifically inside of your container.
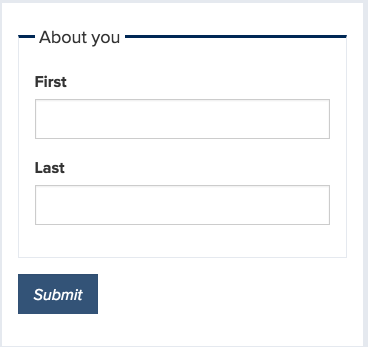
- This is the resulting output the visitor will see on the form:
- This is how containers with elements inside of them will be listed in your element list:
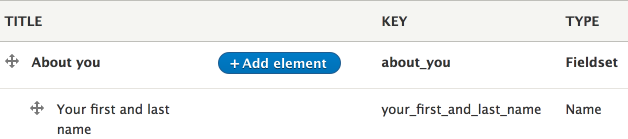
TIP: Anywhere you see the cross pull handle to the left of the Title name, you are able to re-order the elements in whatever order you want by dragging 'n' dropping the element into a new position in the list.