Getting Started
Please note: only a user with a Site Manager can migrate a CSV file into SiteFarm. If you haven't already, please use our Service Request Form to ask that the Migration Module be enabled for you.
What is CSV?
CSV stands for "comma separated values". A CSV is a very simple text format used to store tabular data, such as you would see in a spreadsheet or database. Files in the CSV format can be imported to and exported from programs that store data in tables, such as Microsoft Excel. At a bare minimum, you can use a plain text editor to create a CSV file too.
Why would I add people using a CSV file?
If you have the ability to do this, it's a huge time-saving benefit; you'll be able to add your people (assuming you've properly formatted the file) all in one upload instead of creating each person individually in SiteFarm.
Where do I get a CSV file?
If you have a spreadsheet or database where you're maintaining a list of your faculty, staff, and/or students, and have the ability to export it to a CSV format, this is the easiest approach.
Alternately, you can create one manually in a plain text editor or in a spreadsheet application like Excel or Google Sheets.
Instructions for Preparing a CSV File
Tips
- (Optional) Download the built-in people CSV file already included in your site by going to your homepage, then add this pathway to your browser's URL field: /profiles/sitefarm/tests/cypress/fixtures/files/people.csv. This is a starter file with the header row included.
- Create the CSV using either a text editor or using Excel and saving to CSV, making sure the field delimiter is a comma.
- Must have a header row in the file
- For any text fields, use a double quote to use commas within content. Example: "Hello, my name is Tom"
- For fields that allow multiple values such as website or phone, use a pipe to separate the values.
Example: https://sitefarm.ucdavis.edu | https://fire.ucdavis.edu | https://ucdavis.edu - If any value is not being used, simply create a placeholder for it. Every value must have a spot.
Preparing a People CSV file
| Field Name | Format |
|---|---|
| id* | number |
| first_name* | text |
| last_name* | text |
| credentials | text |
| position_title | text |
| unit | text, can have multiple values |
| email* | email format |
| phone | can have multiple phone numbers - phone number format (flexible) |
| website | can have multiple sites, must have protocol in addition to the site name (i.e. http://) |
| location | text |
| country* | must be 2 letter country code (US most likely) |
| company | text |
| address1 | text |
| address2 | text |
| city | text |
| zipcode | numbers but can have a dash for zip+4 |
| state | 2 letter state code |
| bio_summary | text, teaser display on the /people page |
| bio | text |
| hide_from_directory | leave blank or enter 0 to display in the directory, or enter 1 to hide |
| featured | 0 for non-featured, 1 for featured |
| tags | text, use a pipe as a separator for multiple values: tag | tag |
| documents | URL, use a pipe as a separator for multiple values. If the URL points to a document on your site, use the relative path. Example: /sites/g/files/dgvnskXXXX/files/files/person/test_1.pdf |
| portrait_image | URL, use the relative path to an existing image in your Media Library. Example: /sites/g/files/dgvnskXXXX/files/media/images/profile-image.png |
| url | Alternate path URL. Instead of /people/person-name, you can create your own. |
| cas | text, CAS ID is the person profile's Kerberos ID if desired and applicable |
| research | text |
| membership | text |
File example
Imagine this is an Excel spreadsheet. The first row would contain the Field Names as listed above. All subsequent rows would contain the information specific to an individual.
id,first_name,middle_initial,last_name,name_prefix,credentials,position_title,unit,person_type,email,phone,websites,office_hours,office_location,countrycode,company,address,address2,city,zipcode,state,bio_summary,bio,hide_from_dir,featured,tags,documents,portrait_image,url,cas 1,Person,O,One,,cred1,Programmer 4,IET,Faculty,[email protected],(530)555-2222,'[First Website](http://firstwebsite.com/test&test2#anchor)|[Second Website](http://secondwebsite.com)|http://thirdwebsite.com',10a-4p,My Location,US,Comp1,999 Jsaf,suite2,Davis,95616,CA,"Summary Test",Professional bio,,1,retired|IET,/profiles/sitefarm/tests/files/test.pdf|/profiles/sitefarm/tests/files/test 2.pdf,/profiles/sitefarm/tests/files/portrait.png,/old_user/123,pone 2,Palm,M,Two,,cred2,Supervisor I,IET,Stafftest,[email protected]|[email protected],(530)752-5555|(916)555-5529,'http://firstwebsite.com|[Sample News](news/sample-article)',9a-5p,My Awesome Location,US,comp2,443 K Ste, ,Sacramento,95818,CA,"Bio Summary","<b>Very professional bio</b>",,0,"IET|tag with spaces",,,/users/124,ptwo 3,John,D,Tree,prefix,cred3,Programmer 3, IET,Researchertest,[email protected]|[email protected],(530)115-2555,'news/sample-article',12n-6p,My Location,US,comp3,444 J street, ,Sacramento,95616,CA,"Summary for Bio",Extremely professional bio,1,0,tag1|tag2|tag3,,"https://www.ucdavis.edu/sites/default/files/styles/sf_small_width/public/media/images/Bodega1.JPG",/old_user/jtree,jtree
Importing the File in SiteFarm
- Navigate to Manage » Structure » Migrations.
- Click the + People CSV Import button.
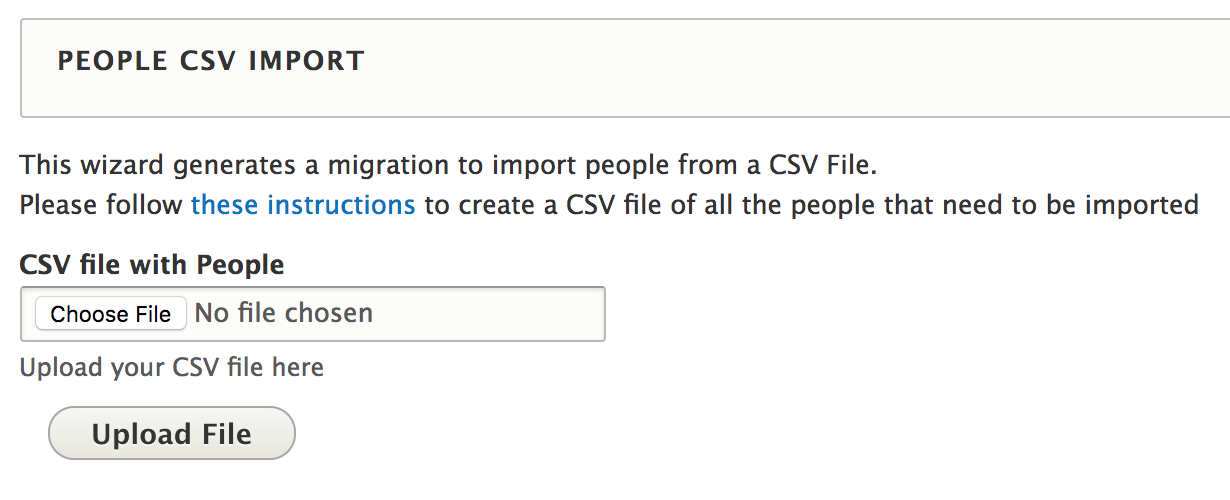
- On the People CSV Import screen, you will be prompted to upload your file. Click Upload File to continue.
- A confirmation screen will appear showing you the first two entries to your file to let you review your formatting and confirm your structure is problem-free. Scroll to the bottom and click Generate Migration to continue.
- On the Migrations page you will see a new listing for SiteFarm CSV People migrations. Click on the corresponding List Migrations button.
- You will be shown a list of possible entities to migrate to your site, listed in this order:
- Media files
- Media images
- Person types
- tags
- People
- Execute the Media Files migration first by clicking the Execute button on the right. The files must be present in order to apply the other four entities.
- On the next page, select "Import" and click the Execute button
- After the migration runs, you will be presented with a green ribbon with an update on what was processed if everything ran successfully. If you receive a red ribbon with a warning or error, please take a screenshot or copy the text and send the information to the SiteFarm team.
- Once the person pages have been created, return to the main Migration page and select your next import entity type (files, images, types, tags) and click its Execute button.
- Once all steps have been processed, the migration is completed.