Certain elements of your site can be configured and customized to your department's needs. To set these options, follow the steps outlined below.
- From your admin panel, click on Manage » Configuration

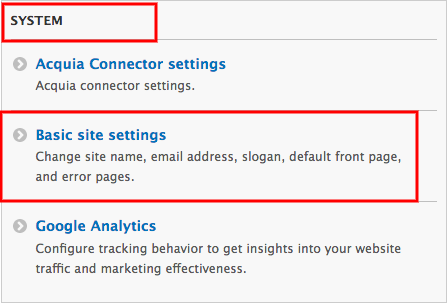
- On the Configuration screen, located the System section and click on Basic Site Settings.
- The Site Settings page contains several options for you to configure:
- Site name - (required)
- Slogan - (optional) A teaser line that appears directly beneath your site name in the upper lefthand corner
- Email address - (required) - The From address in automated emails sent during registration and new password requests, and other notifications.
- THIS IS NOT YOUR SITE'S CONTACT EMAIL ADDRESS. SEE BELOW.
- This email address MUST include "@ucdavis.edu" or mail may not be delivered.
- Contact E-mail address or link - (required - You may provide a contact email address or a link to a contact page (example: [email protected] or /contact)
- THIS IS YOUR SITE'S PUBLIC-FACING CONTACT OPTION. By default, it includes a link to the built-in contact form (located at /contact), which is located at {your domain name}/admin/structure/contact or Manage » Structure » Contact forms. If you leave the settings as the /contact default form, it is vital that you navigate to the form itself and update its email address destination, otherwise, it will default to [email protected] and she doesn't want to receive your messages.
- Privacy & Accessibility link - (required) - this is set already to the campus' default Privacy and Policy page.
- Site Credit Information - (optional) - Place this site's credit information such as address, phone, and email address.
- Front Page - (optional) - Optionally, specify a relative URL to display as the front page. Leave blank to display the default front page.
- Error pages
- Default 403 (access denied) page - This page is displayed when the requested document is denied to the current user. Enter in your custom pathway if you want to create your own 403 page: /your-403-page. Leave blank to display a generic "access denied" page.
- Default 404 (not found) page - This page is displayed when no other content matches the requested document. if you want to create your own 404 page: /your-404-page. Leave blank to display a generic "access denied" page.
- Click Save Configuration to finish.