
Once a site manager has completed the steps to configure the Multi-language options for your site, you can proceed to adding translations to your content.
Translating with Existing Content
The easiest way to begin is with content that already exists in your site. These steps assume your site is set with English as the default language.
- Locate the content you want to translate.
- If it's from the All content screen, you can access the Translate option from the Edit's drop-down menu:
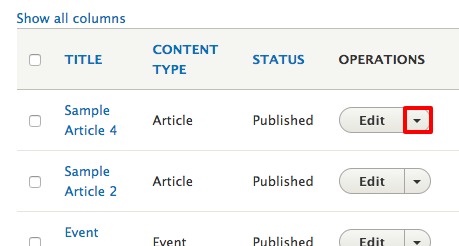
Click on the downward arrow to reveal the Translate option. - If you are editing your content from the page itself, and the Multilingual Modules have been enabled, you will be able to click on the Translate tab:
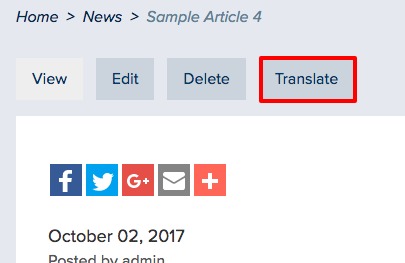
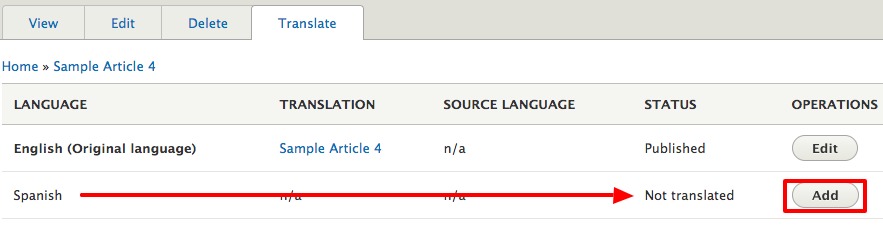
You will know the Multilingual Modules are enable if the Translate tab is available in your page view. - Clicking on the Translate tab will provide you a list of the already configured languages available. Click on the corresponding Add button to open a duplication of your original page from which you can begin working:
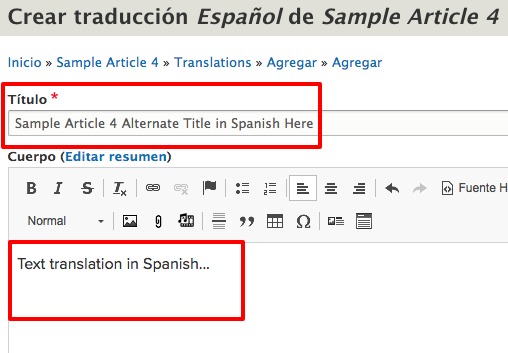
- Once you've clicked Add for your preferred language, the user interface will open showing you the default page view but labeled in your selected language. All buttons and links in the interface work the same way as in the default English view mode. You can now enter in a new title and the translated text:
- Click the Save button to finish.
- When you check your list of content, you will now have a new page separate and apart from the original. Each must be individually maintained.