Adding images via the WYSIWYG
- To add images to your content type or block via the Body WYSIWYG, click on the Image icon

- This will bring up the Add or select media dialog box:
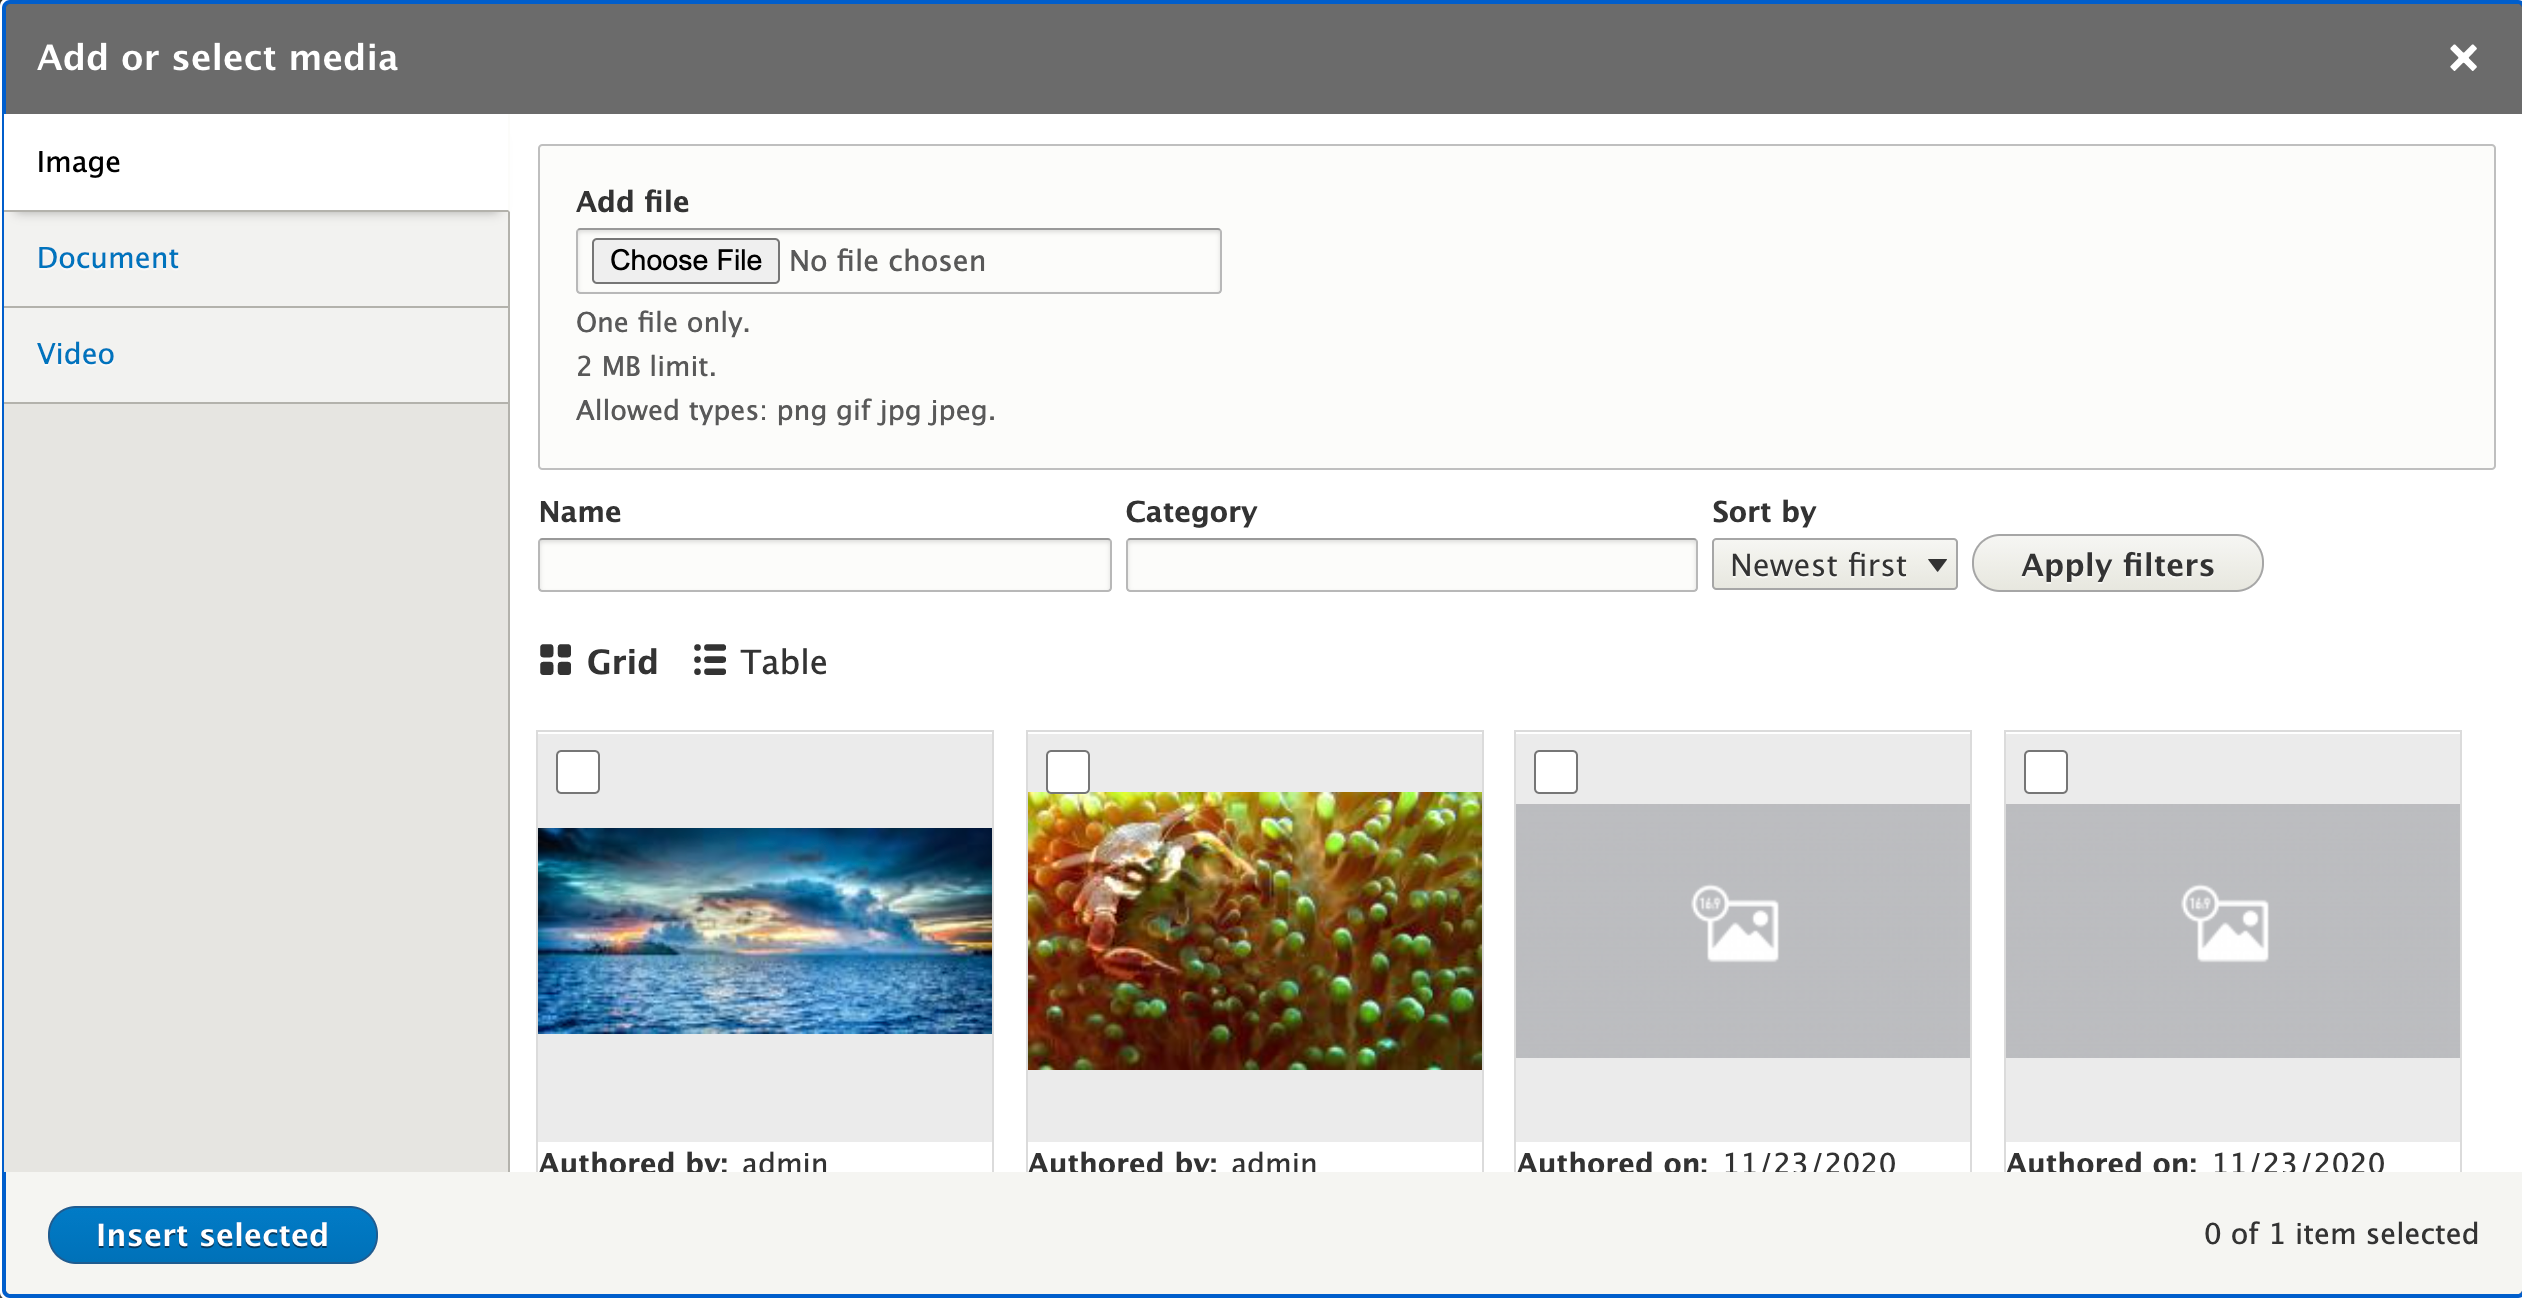
- From this interface, you can select and insert existing images via the gallery or upload a new image using the Add file » Choose File button.
- USING AN EXISTING IMAGE IN YOUR GALLERY:
- Scroll through your gallery or search for it using the Search/Filter option to locate your desired image.
- Click its checkbox located in the image's upper lefthand corner.
- Click the Insert selected button which will then return you to your content view.
- UPLOADING A NEW IMAGE FOR IMMEDIATE USE:
- Look for the Add file section and then click the Choose File button.
- Select the image from your local system or cloud service.
- When you return to your site you will be asked to provide the following information, asterisks denote required fields:

- Field elements:
- Alternative text - this text has multiple purposes; it is required to meet accessibility requirements for visitors to your site who use a screen reader, and the text will appear instead if the link to the image is broken. When uploading an image, the Generate with AI feature will automatically provide a suggested alternative text description. You're welcome to use what is offered, tweak the suggestion, or delete and create your own unique entry. Make certain to proofread the text provided by the AI if you decide to use it.
- Name - the file name including the file extensions (.png, .jpg, etc)
- Caption - text that will formatted to display beneath your image. Captions added here will be available for use both through the WYSIWYG interface as well as image attachment locations, such as primary images or photo galleries. Specific documentation on media captions.
- Category - an optional tagging system to help you organize your images. For your internal use only; image categories will not be visible to your visitors.
- Focal point - located on the left side of the screen allowing you to use the crosshairs to select the point of focus when displayed to make that part of the image always visible in its location.
- Click Save to continue and you will be returned to your content.
Editing existing images
- To edit the properties of an existing image, first click on the image in the WYSIWYG to activate the image properties menu
- The Image Properties bar will float above or below the image and include the following property setting options:
 By default, the Caption checkbox won't be set. So use the Edit media option to enable it. Once enabled, you can choose to edit it from the regular content View. Please note your caption changes on the page will not affect the original caption saved in your Media Library.
- Toggle caption on - activates the caption area beneath the image so you can enter text
- Link media - embed a link to an internal page (only use preceding '/' in the address, example "/this/page") or to an external page (make certain to use http:// or https:// before the domain name)
- Override media image alternative text - opens a field that allows you to overwrite the alternative text provided for the image originally in the Media Library when it was uploaded and makes that alternative text unique and custom to that one image
- View mode size - a selection of preset image widths and heights
- Default - the static size of the image you uploaded. Not responsive to changes in screen width.
- Landscape 16x9 - 1280x720px
- Landscape 4x3 - 640x480px
- Large - image displayed to a max of 1000px *
- Medium - image displayed to a max of 500px *
- Profile - 520x580px
- Small - image displayed to a max of 200px width *
- Thumbnail - 135x135px
- Break text, left align
- Align left and wrap text
- Break text, center align
- Align right and wrap text
- Changes made to these properties are applied immediately. Click Save at the bottom of the page to keep your work.
Add a Primary Image
- Locate the Primary Image section of your content type if it's available:
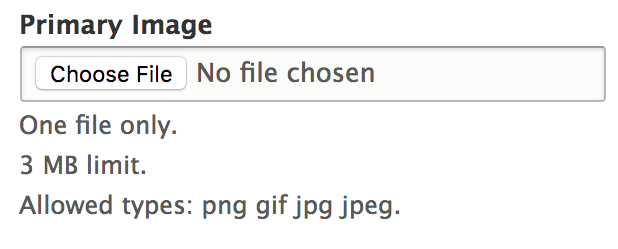
- Click on Choose File and select an image from your local computer. File size is limited to 3MB or smaller; anything larger will trigger a warning message and not allow you to save your work.
- Once the image uploads, you will see these options:
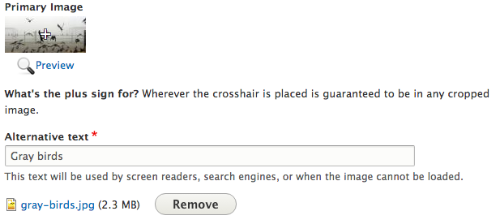
Alternative text - (required) This text will be used by screen readers, search engines, or when the image cannot be loaded. - When complete, scroll to the bottom of the screen and click your preferred Save option.
Edit an Alt tag
If you wish to review and potentially edit the alt tag (alternative text tag) for a specific image, you can use the following steps:
- Navigate to Shortcuts » Media if you have the link on your admin bar, or Shortcuts » All content » Media tab to get to your Media Library.
- Locate your image in the library and click its Edit button.
- Either rewrite your alt tag manually, or start by clicking the "Generate with AI" button to start. If you use the AI option be sure to read its entry for accuracy and coherency.
- Click Save to finish and apply your changes.