Add a branding color to your custom category filter
It may have occurred to you that it would be nice to display a colorful, custom category filter that links to information pages, but on creating it you no doubt discovered that custom vocabularies don't offer anywhere to set a branding color like the Article or Event Category lists do. This write-up will show you how to incorporate it into your own custom taxonomies to get that same effect and presentation.
Please note that a Site Builder role is required in order to complete these steps.
Create your custom vocabulary
- Navigate to Shortcuts » Taxonomy.
- Click the + Add vocabulary button.
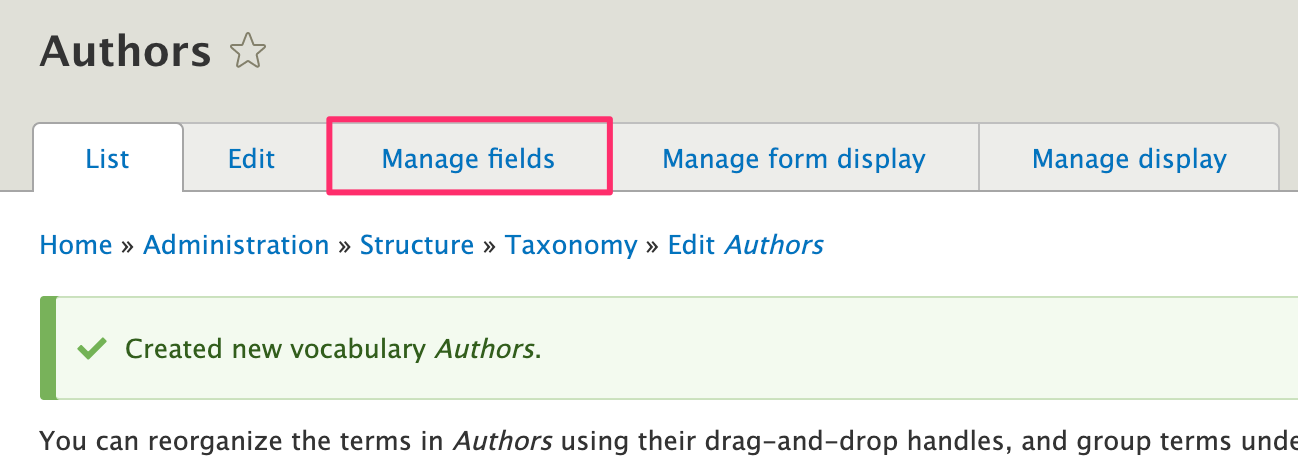
- Enter a Name for your vocabulary and click Save.
- Click on the Manage fields tab.
- Click the + Add field button.
- From under the Re-use an existing field menu, select the List (text): field_sf_brand_color option.

- Click the Save and continue button.
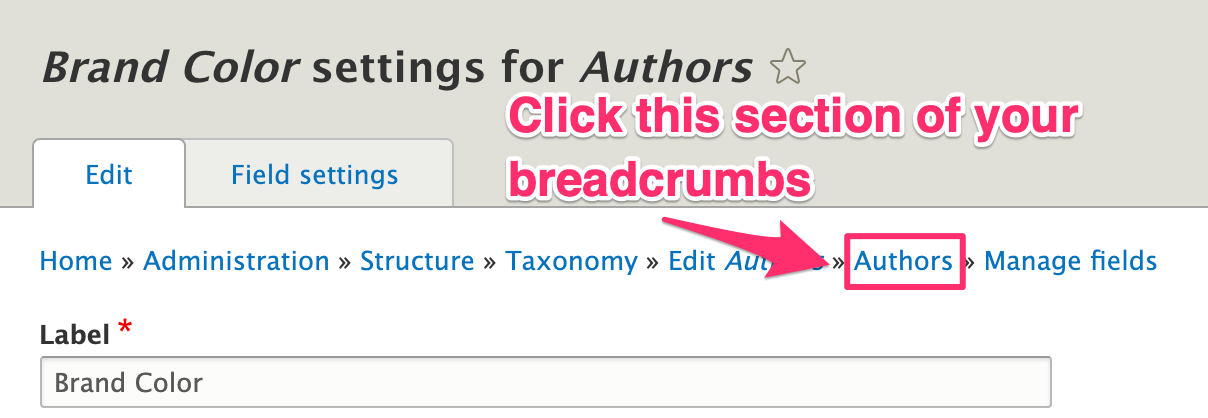
- Once it saves, you will be on the Brand Color settings for <your vocabulary> page. Use the breadcrumbs to return to your main vocabulary page:
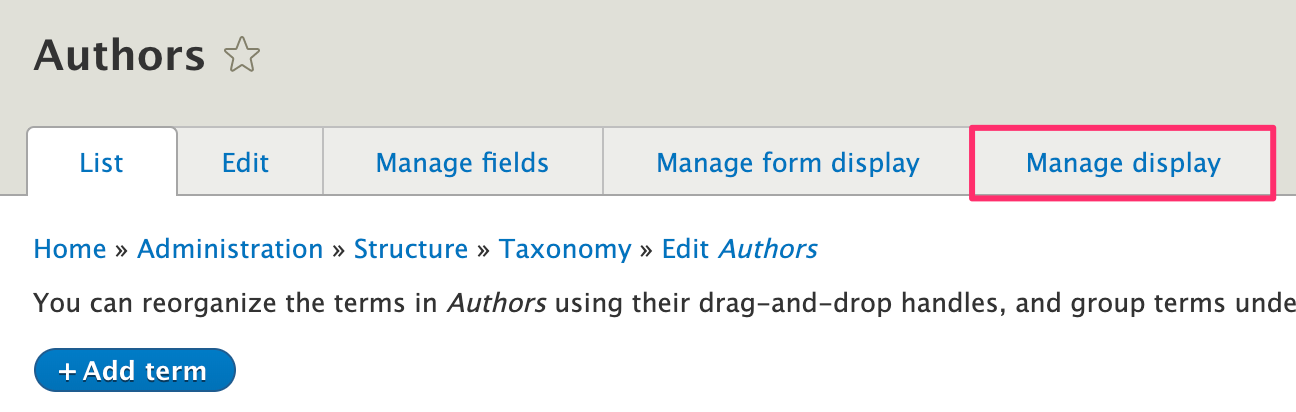
- Click on the Manage display tab.
- Locate the Brand Color field in the list and, using its pull handle located to the left of the entry, drag it it into the Disabled section below.
- Click the Save button to finish.
- Click on the List tab and use the + Add term button to add term entries to your custom vocabulary. You will see that the Add term page now includes an option to add a Branding color selection.
Configure the URL alias pattern
- Select one of your terms and click its Edit button.
- Scroll down until you see the checkmark labeled Generate automatic URL alias. In its description text, you will see a link for Configure URL alias patterns. Click the link to continue.
- On the Patterns screen, click the + Add Pathauto pattern.
- Pattern type: Taxonomy term
- Path pattern: <vocab name>/[term:name]
Example: authors/[term:name]
Note: there is no preceding / in front of your vocabulary name - Vocabulary: check the related custom vocabulary
- Label: a name that will help you identify your custom pattern in the list
- Click Save to finish.
Create a View block for your vocabulary
- Navigate to Manage » Structure » Views.
- Locate the Articles Category Filter View and use its Duplicate button. Duplicating this existing View means you're getting a View with the majority of the settings and classes already included, leaving you with only a few areas that need to be customized to achieve your goal.
- Provide a new View name and click the Duplicate button.
- Delete the Block - Blog and Block - Term displays.
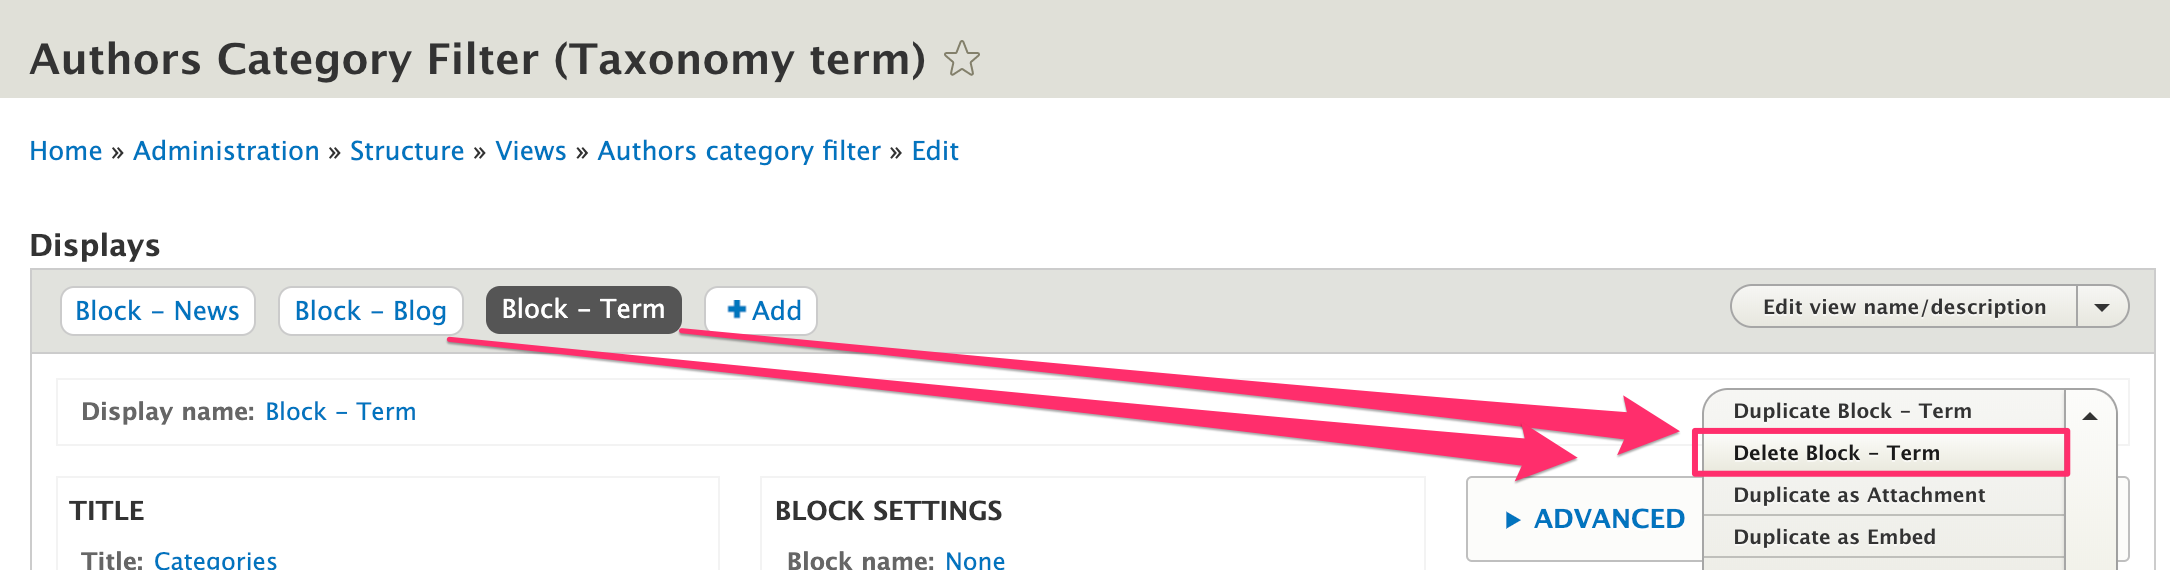
- Save your changes before continuing.
- Customize the remain Block - News display with your own details:
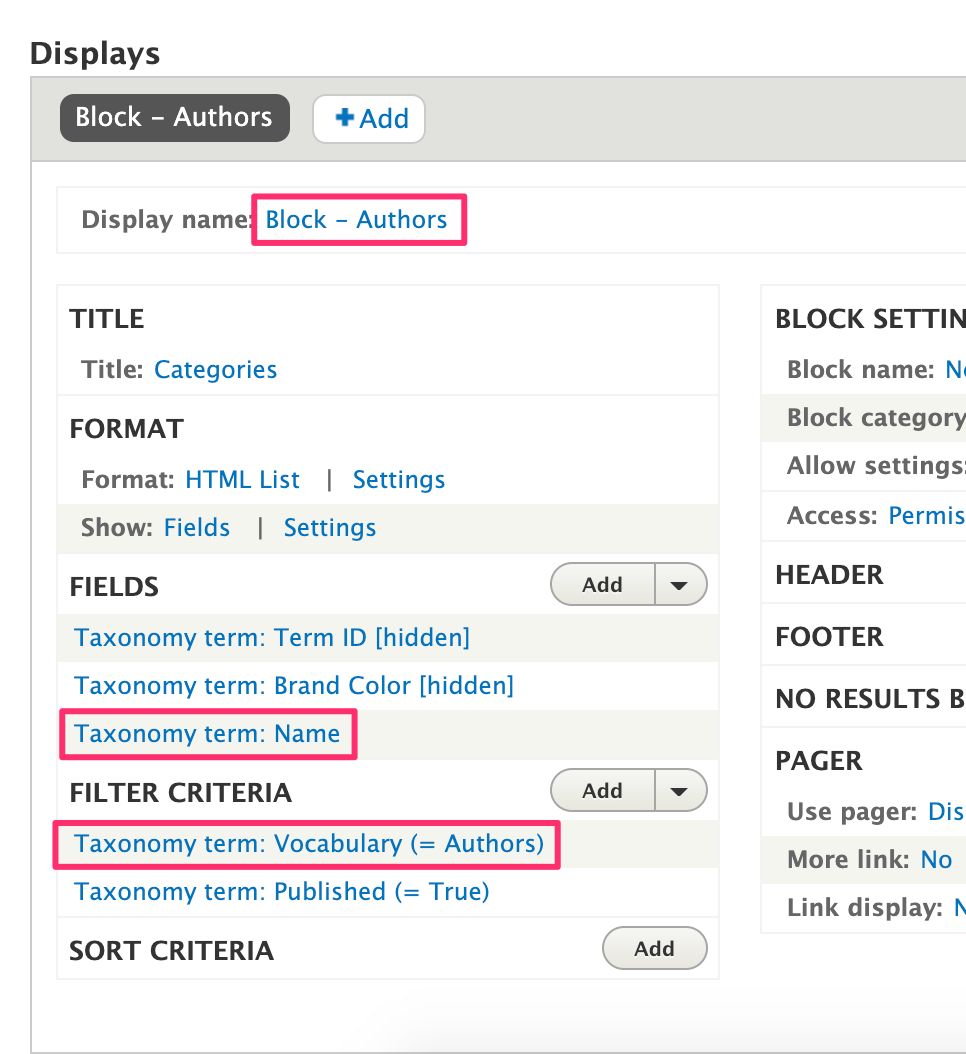
- Display name: Block - <vocabulary name>
- FIELDS » Taxonomy term: Name
- Expand the REWRITE RESULTS label
- Update Link path to /vocabularyname/{{ name }}
Example: /authors/{{ name }} - Check the box for Replace spaces with dashes
- Click Apply.
- FILTER CRITERIA » Taxonomy term: Vocabulary
- Click this link, uncheck the unneeded box and then select your custom vocabulary
- Click Apply.
- BONUS: If you want to have a weighted sort, include the SORT CRITERIA and use the Add button to include Taxonomy term: Weight (asc).
- Click Save to finish.
Attach your new View block to a page
- Locate the page where the block will be displayed.
- Click the page's Place Block button.
- Use the dialog box's search filter region to search for your View name.
- Click its corresponding Place Block button.
- In the block's Visibility | Pages section consider also adding the pathway to your vocabulary pages if you want this block to display in conjunction with the terms. Example: for my Authors list, I'm using these paths:
/custom-branding-colors
/authors/* <-- wildcard will include all term pages that fall in this pathway. - Click the Save block button to finish.
- Click on the Back to site button in your admin bar to return to the page. You may find it necessary to use Clear Cache if you're not seeing your changes right away.
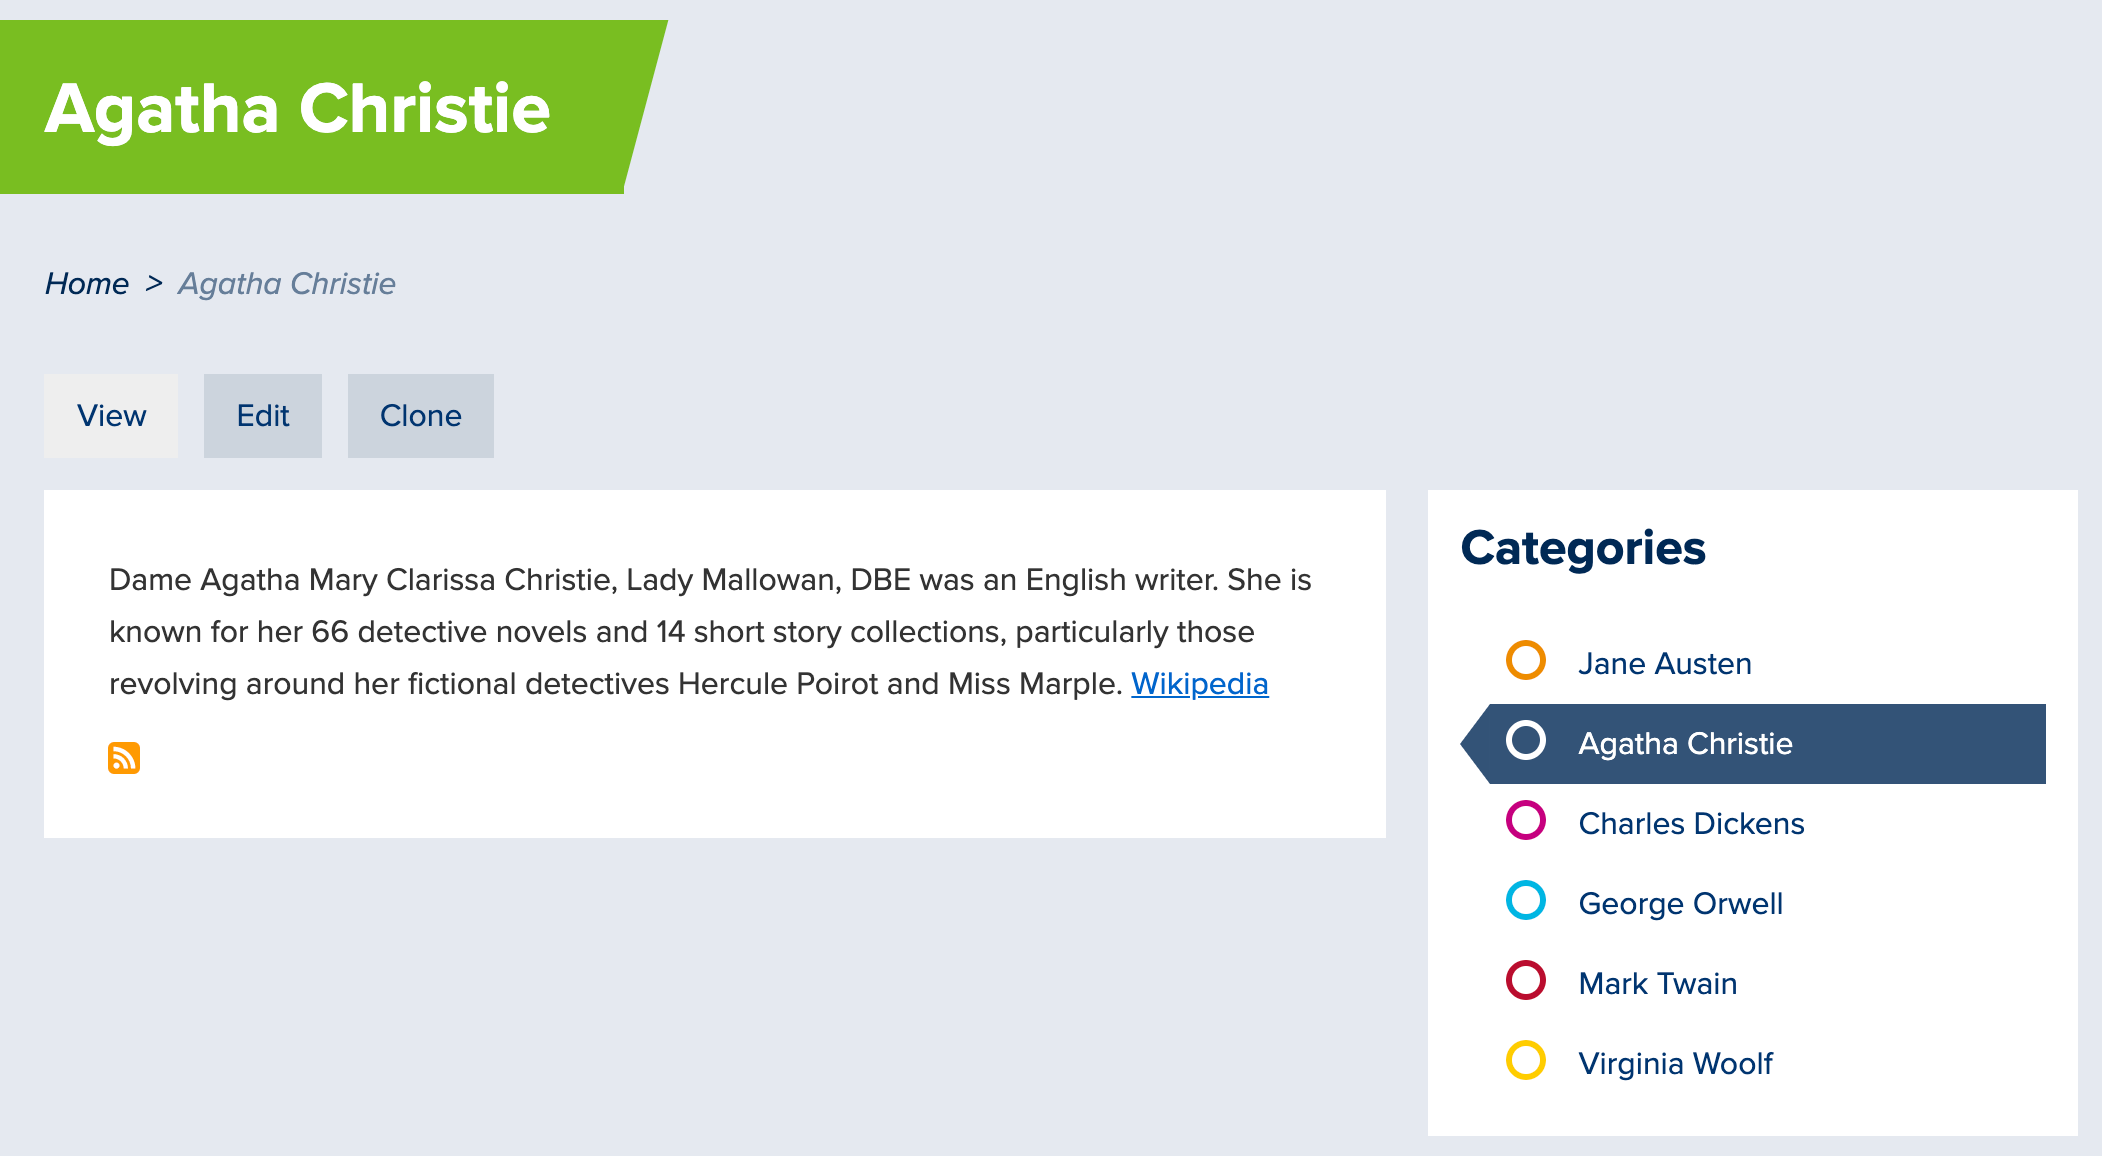
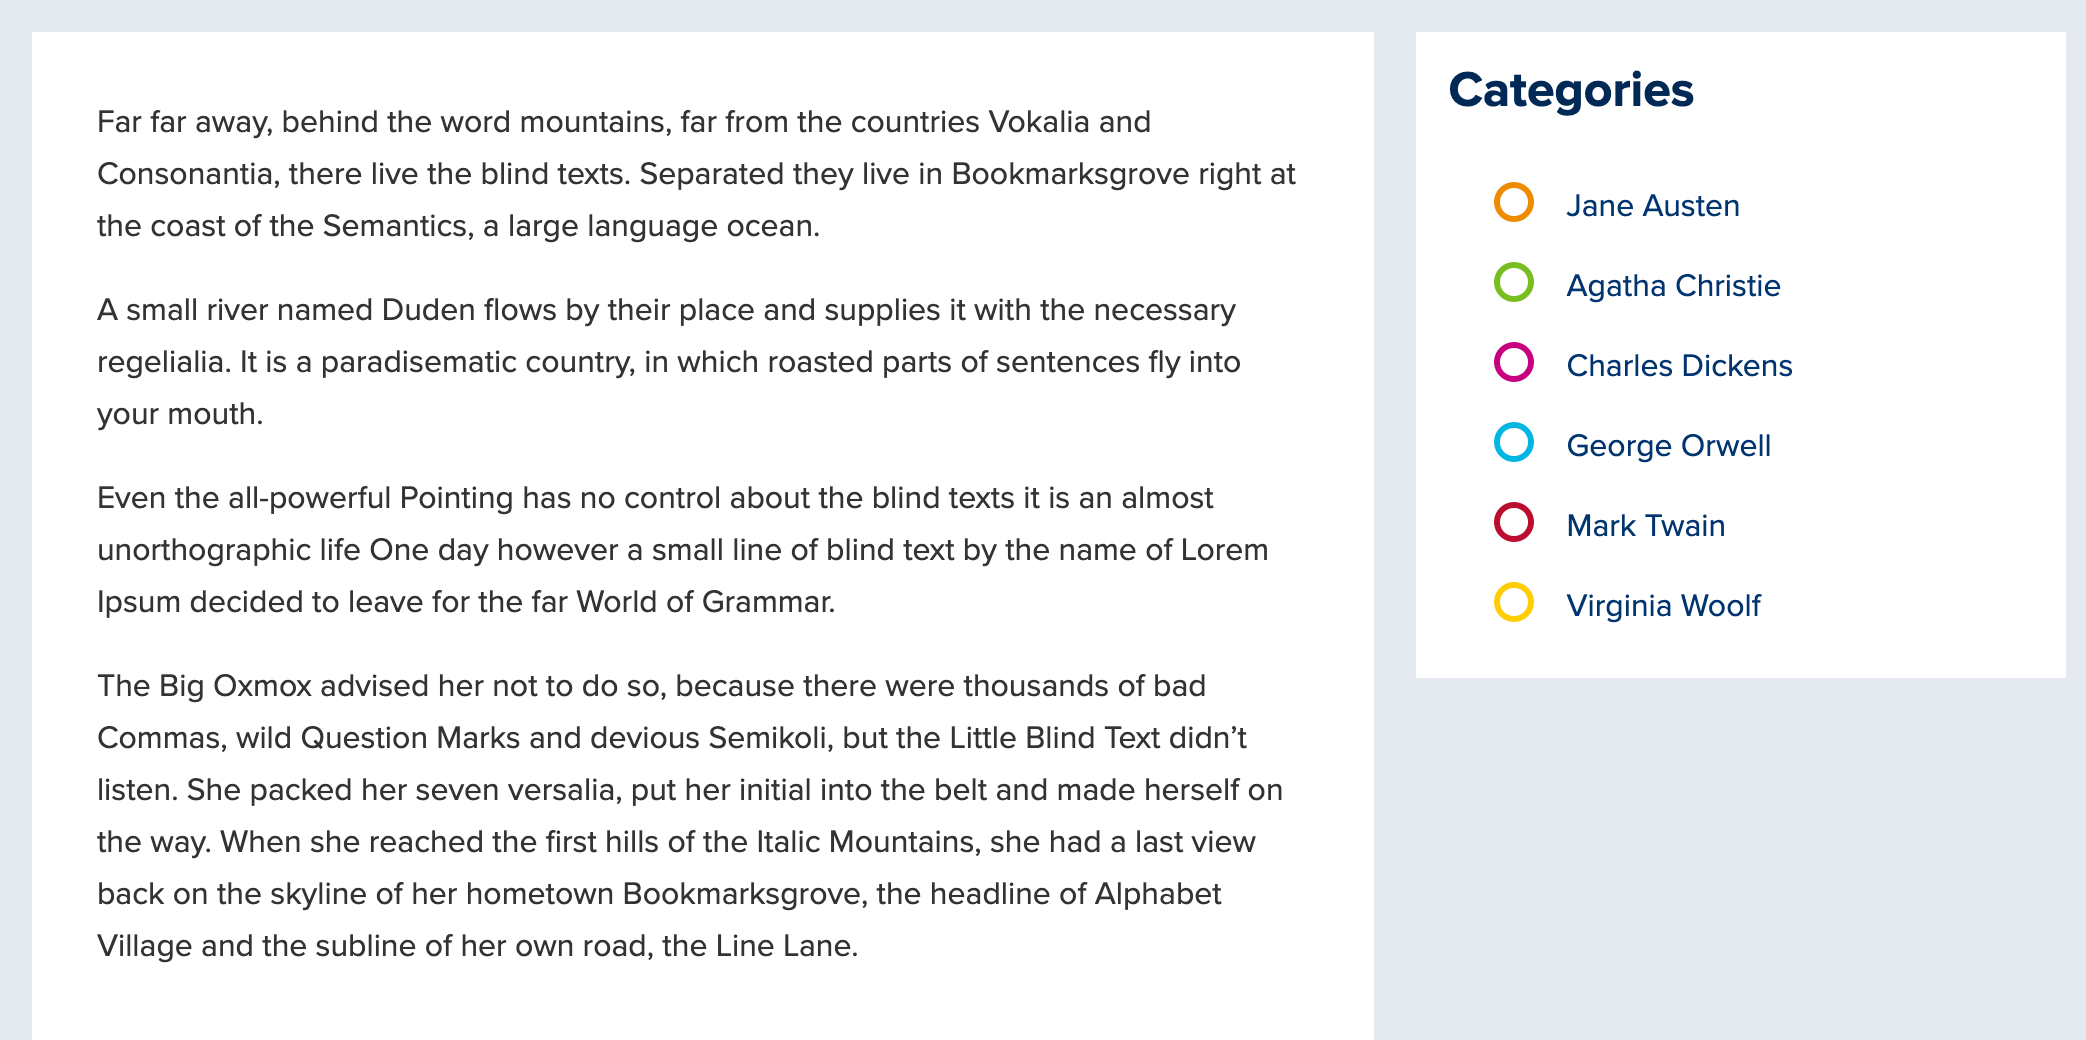
Page example with the block attached
Taxonomy term page with the block attached