You have two methods available to you to add new media to your site:
- Through the Media Library dashboard (described below), or
- Through the WYSIWYG or specific attachment buttons for media (or see each individual block for instructions).
Media Library Dashboard
- Navigate to Shortcuts » Media or Shortcuts » All Content » Media tab.
- You will be provided a Media Dashboard similar to this screenshot:
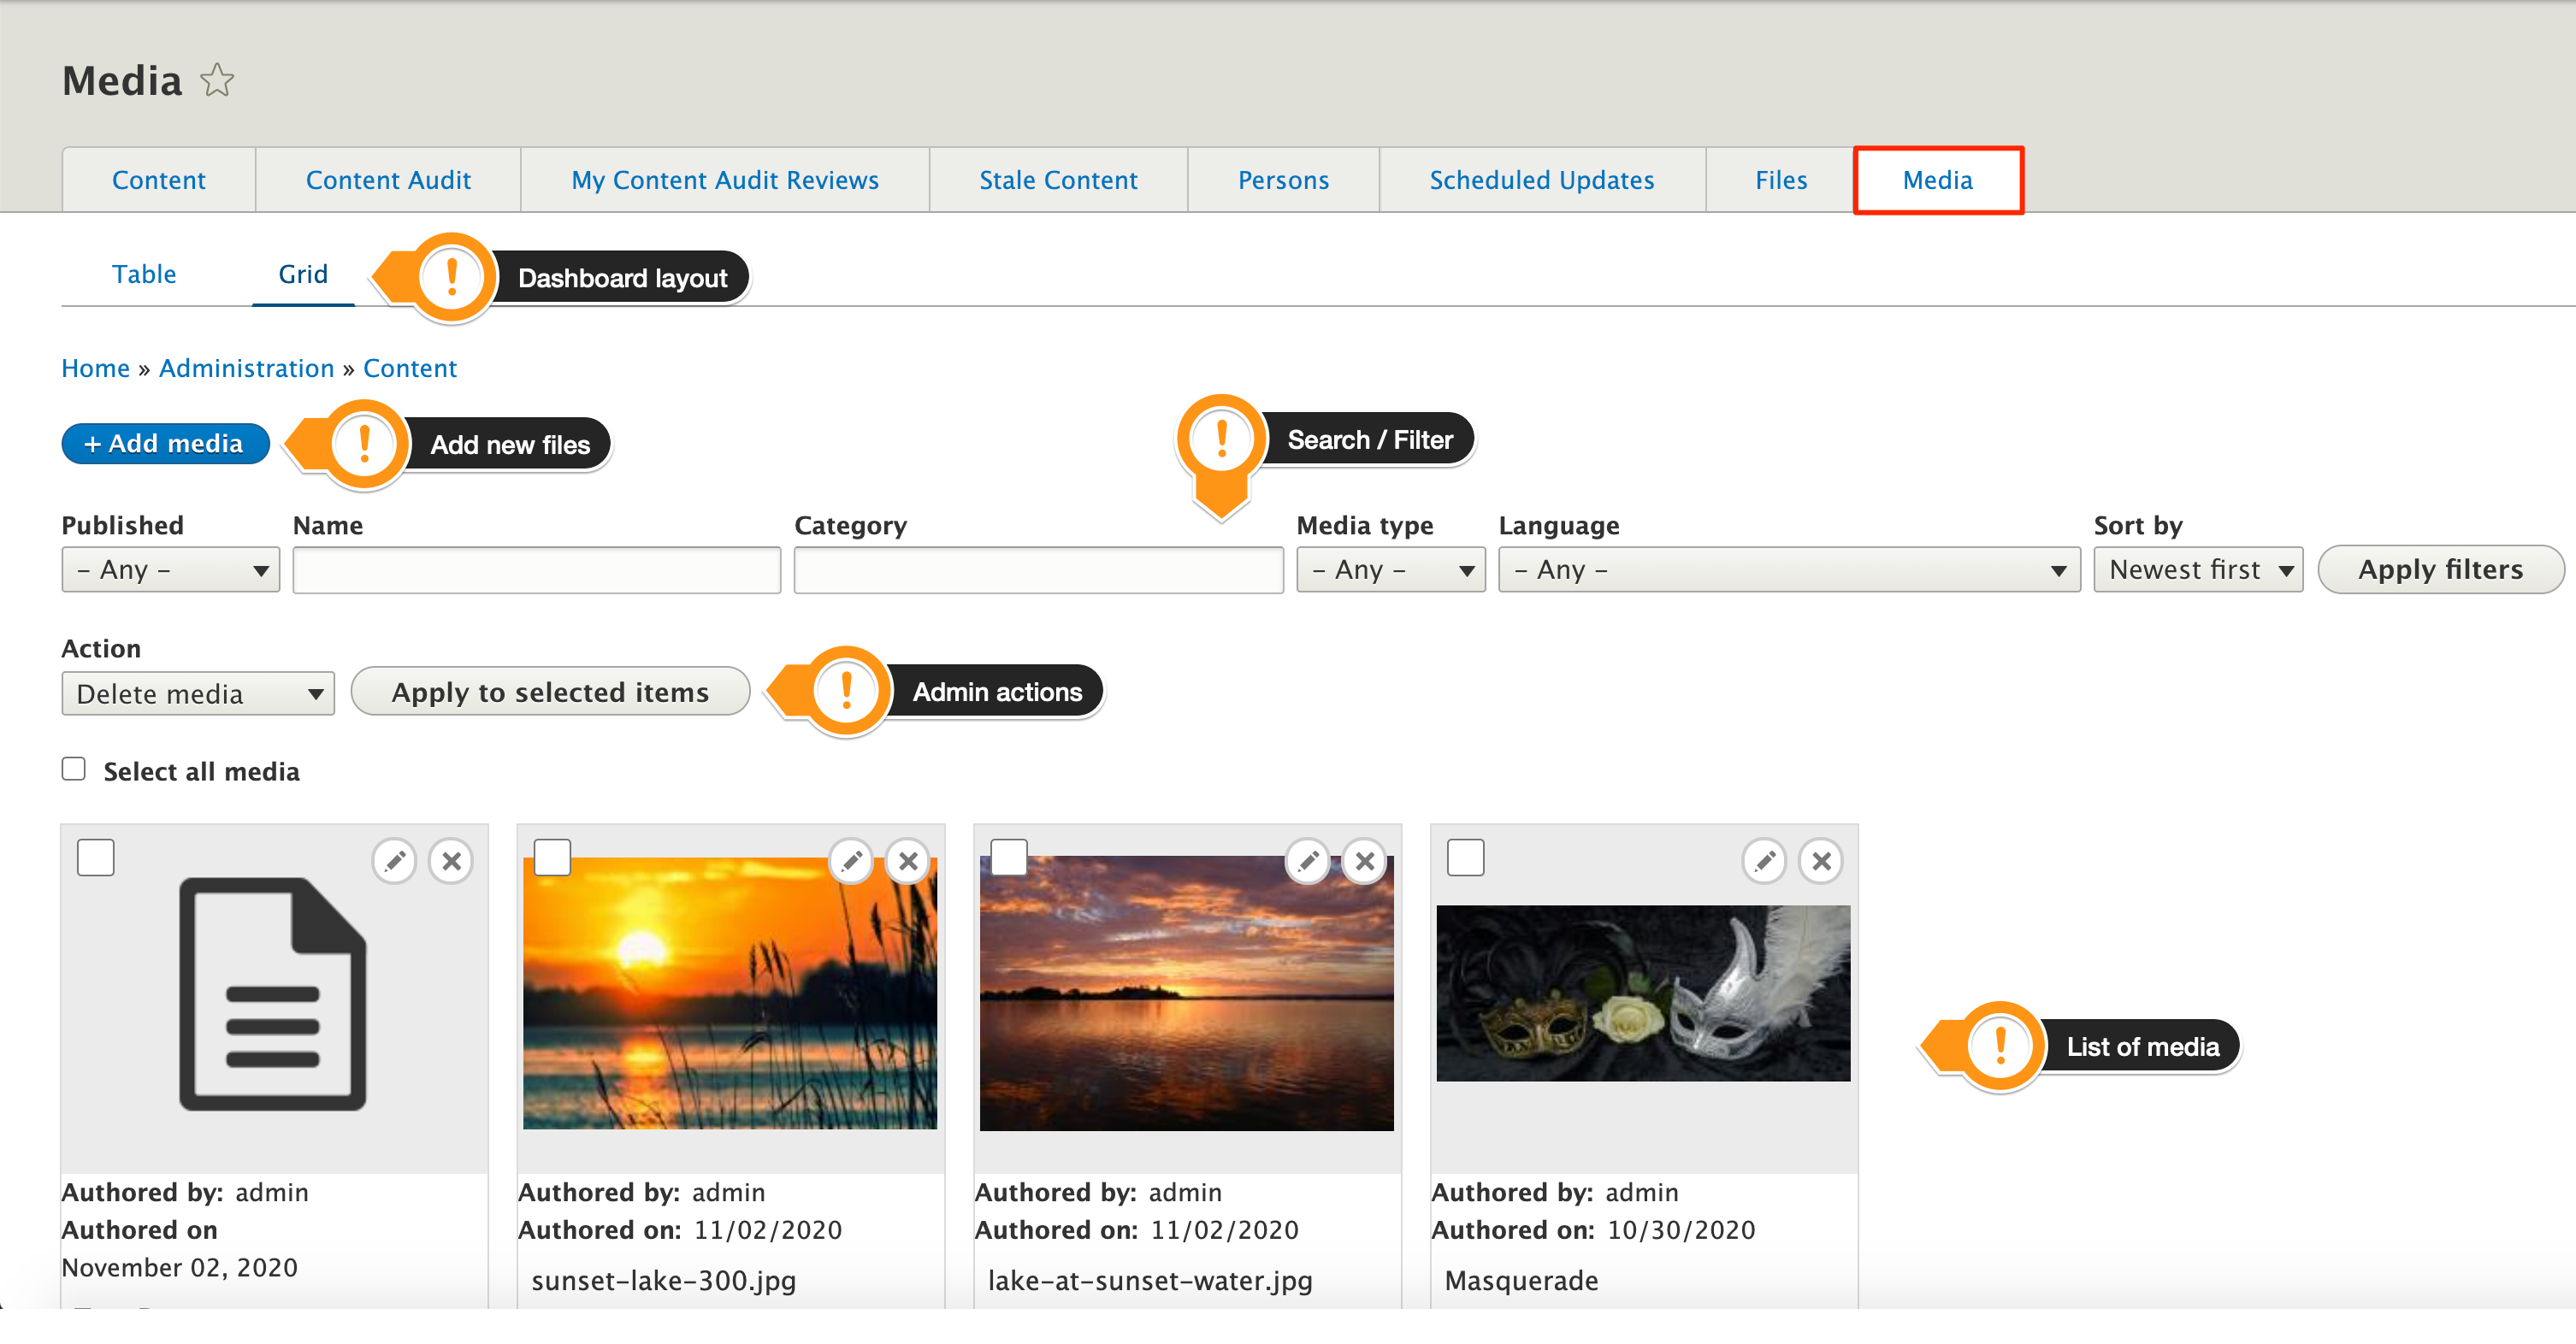
- Dashboard layout - you can view your media in either a Table (default) or Grid layout. Table will display your media content in rows, while the Grid (as shown above), will show content cards.
- + Add media - one method for adding new pieces of media is to do so through your dashboard using this button.
- Search/Filter - as you increase the size of your library you'll find the search/filter options integral to quickly locate the content you want to use. When you have set your options, click the Apply filters button to narrow your list.
- Actions menu - lets you Publish, Save, Delete, and Unpublish one or more pieces of media. Click the Apply button to affect the selected items you designate by checking the box in a piece of media's upper left corner (grid view) or to the left of the listing (table view).
Add Media via the Media Library
- Click the + Add media button.
- Select the type of media you want to upload and add its information:
- Audio
Handles audio media files.
Provide: Name, uploaded File, Description (optional), Category (optional). Restricted to these file types: mp3 wav aac - Document
Handles documents and zip files that can be attached to a content type.
Provide: Name, uploaded File, Description (optional), Category (optional). Restricted to these file types: txt zip xls xlsx doc docx pdf ppt pptx - Image
Image media entity type.
Provide: Name, uploaded File, Alternative text, Description (optional), Category (optional). Restricted to these file types: png gif jpg jpeg
If you add a caption to your image in Media Library, then later add that image to a page or block via the WYSIWYG Insert Image icon and check the Caption checkbox, the original caption will display. You can also edit the caption in the WYSIWYG if you need to make an adjustment. Caption changes made while in a page or block will NOT change the original caption added in the Media Library. - SVG
Handles SVG image files.
Provide: Name, uploaded File, Alternative text, Category (optional). Restricted to this file type: svg - Video
External (Remote) Video media entity type for handling videos from sources like YouTube and Vimeo.
Provide: Name, Remove video URL, Description (optional), Category (optional). Restricted to these services: YouTube, Vimeo
- Audio
- Once the information in step 2 is entered, scroll to the bottom of the page and click Save to finish.
Modify existing media in your Library
Once your media is in the Media Library you are able to make modifications.

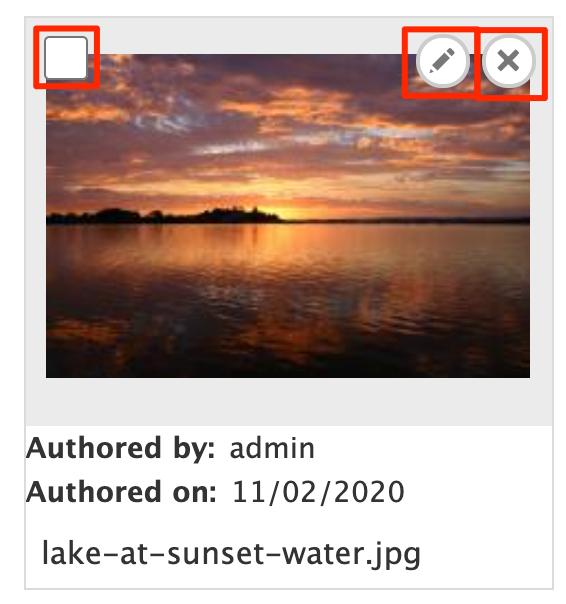
- Checkbox - Use in conjunction with the Actions menu to Delete, Publish, Unpublish, or Save.
- Pen icon/Edit - Gives you access to the information you originally provided when you add your piece of media.
- X/Delete - Delete your media from your site. Please note special steps are required in order to delete media permanently. This deletion step deletes it from your site, but if it's important that the file never be available again (for legal, safety, or reasons related to sensitive information), the SiteFarm team will help you by clearing the file from related services that cache your files. In the event of downtime on our Acquia platform, our caching services—like Fastly—will continue to serve pages so your visitors will never know there's a problem, but this means it also holds on to files you may want removed. Site Managers should review our documentation on Fancy File Delete for the steps necessary to permanently delete a file.
Replacing in-use media
Files embedded or linked through your Media Library can be replaced. The steps vary slightly depending upon which replacement method you choose.
- Navigate to your file in the Media Library and click its Edit button.
- Locate the Replace File section and click the Choose File button. Find and select your replacement file from your preferred source.
- Overwrite original file options:
- Replace and KEEP original file/path name - Checkbox enabled
In many cases the pathway users have created is one that is shared and, as such, they would like it to persist for continued use. Files updated in the Documents section will immediately update and clear cache to reflect the file content change. Files embedded in body text will require the link be recreated. Use the steps outlined above in the section titled "Use the Media Library to create an embeddable link".- Notes: when replacing and keeping the same file/path name, the replacement file MUST use the same file extension as the original file: PDF ⇒ PDF or .png ⇒ .png
- Replace AND update file/path name - Checkbox disabled
When the URL pathway isn't a critical aspect of the update or the user explicitly needs for the link path to reflect the file update, uncheck the box to reflect this need. When complete, the replacement file's filename will be used in the pathway. If the Name field is updated AND this file is being used in a Documents section, the Name will also be updated.- Notes: if the original file contains content that should not remain available on the web for legal, health, or safety reasons, please follow the recommended steps in the Fancy File Delete section
- Replace and KEEP original file/path name - Checkbox enabled
- Scroll to the bottom of the screen and click Save.